Pages

Tuesday, April 3, 2012

Happy Easter and a Freebie#5

Happy Easter everyone! Me and my family are leaving for Singapore tomorrow for a vacation. But before I leave, I'm sharing with you another doodle of mine called" Chocolate Bliss".
Will have another one when I come back. Here's a sneak peek:


Sunday, February 5, 2012

SPY-themed Party Ideas & Freebie#4

Last December was my daughter's 18th birthday. She wanted a Spy theme with travel and casino motifs. Now how hard can that be! Lol. After knockin' my brains out for ideas, the following were some of what I came up with, with the help of my family of course, particularly my ever loving and supportive hubby.
Since a spy go for different disguises, I hired a make-up artist, fashion stylist and photographer for her photoshoot, 3 weeks before the event. Her fashion stylist came up with 5 different wardrobe changes. I used her different looks for the invitation, backdrops and souvenir tags with the colors-black, red and white.
THE INVITATION
I tri-fold a faux leather design black board paper, attached the ends with double back tape with the exception of the top portion. This serves as an envelope with only a strip of black board paper as the flap cover. To keep the flap closed, I printed small red question marks on a sticker paper, glued crystal gem on the dots and used a circle puncher for the shape. I also printed on a sticker paper the TOP SECRET label and attached it on the front. Wasn't able to get the site where I downloaded the label but here's one for a reference.
When the flap cover is opened, a James Bond eye logo will be revealed. I replaced the image of James Bond with a picture of my daughter.
Upon pulling up the card with the logo, the entire inside portion is revealed which contains the party details. I used 18 different images of my daughter, including the one with James Bond logo as background for the card. The images, except the logo, were printed with 40% opacity in black and white. Instead of using the usual invitation terms, I replaced them with spy terms such as mission, identity and disguise. The CODE features different spy movies and serves as guide for the table seating. As soon as the guests come in, they have to say the code to the usher and they will be seated accordingly.
THE WELCOME BANNER
The Welcome Banner featured one of her spy looks. This was placed at the entrance of the venue. The size is about 5.5 feet tall and supported by a gold frame.
THE BACKDROPS & PROPS
Four of the different wardrobe changes during the photoshoot were used as backdrops for the venue. The size is about  5 x 3 feet printed on a tarpaulin in black and white and supported by a wooden frame at the back. 


 These were placed on the recessed wall on both sides of the stage.
Life-sized spy men and women silhouette standees also served as props for the venue. I placed 2 at the hall entrance, 1 at the Bar (vaguely seen inside mirror) and 2 on the stairs.
TABLE DECOR
For the table decor, I downloaded 15 different spy movies, printed them and laminated for the 15 tables accomodation. I have large sizes of playing cards that I've been keeping for a while and I thought of using them as table place cards by arranging them like a fan together with the laminated spy movies. Here are 2 examples of them:

THE CAKE
Her cake was a Casino Playing Card inspired. Also in the picture is the backdrop for the stage which is a James Bond logo with her at the center of the eye.
The mini cakes were lighted by 18 of her friends as they each reveal an "identity"(characteristics of Athena as they know her) and their wishes for her. From her 18 godmothers, godfathers, aunts and family friends, they each gave her 18 gadgets. 
SOUVENIRS AND GIVE-AWAYS
For the guests, we gave away mini fondant "Dice" cakes baked by my loving sistah. They were placed in a square box and decorated with a ribbon and a tag. The cake box is from a local cake supplies store. 

I made a Thank You tag using different pictures of my daughter printed in black and white with red border. I attached this on a shaped black board paper using my favorite Martha Stewart's Punch Around the Page Cherish set.
Gave away also lipstick pens for the ladies and Secret Decoder Pens for the guys which I bought from The Spy Museum Store in US.
And here's another freebie for you:


Tuesday, January 17, 2012

A Cupcake Critter Freebie

Hi to all my lovely friends! Sorry for being absent on the blog for so long. I had been busy with my daughter's 18th birthday last December doing invitations, table place cards, tags and party coordinations. Promise to post some of them for a Spy-themed Party ideas. After the bustle, we gave ourselves a much needed vacation during the holidays. To make up for my absence, I'm sharing with you a little doodling I made of a cupcake critter. Hope you like her and maybe you can use her for a sweet note card or tag.


Tuesday, November 29, 2011

The Outlawz Creative Challenge2-Entry 2

Love, love this very pretty image " Holiday Alyssa"! She's a free image created by Sandi and used her for my second entry to The Outlawz Creative Challenge. I paper-pieced her dress and put glittter glue on her hat and the stocking she's holding. The designer paper I used is from DCWV Spring Stack 2009 collection. I punched one edge using ek Success Swirl Edger Puncher. The small letter dots was made using red circled letters from my stash and gluing each of them on round pink bubble stickers. Here's my card:


The Outlawz Creative Challenge2-Entry 1

It's the second round for The Outlawz Creative Challenge which runs from Nov.20-Dec. 3, 2011. Enter at least one project with any of the free digis provided by either Anne or Sandi to receive the next set of images. My first entry for the challenge is a cute Christmas image created by Sandi called "Toy Stocking".
I used a non-traditional christmas hues, violet and yellow green, for my color scheme. I think this color combo is very cool to the eyes.

Saturday, November 26, 2011

CDAC Progressive Challenge #7-Entry 2

My second entry to the CDACPC7 is an image "Bailey with Honey Bee" from Sew Many Cards. I used a floral background paper of  DCWV from the Retro Prints Paper Stack. For the borders on the floral bp, I used Martha Stewart's Punch Around the Page Cherry Blossom design and glue some yellow crystal gems for each of the floral centers.
 This funny looking bee is handmade by yours truly. I just drew a sketch of the whole bee, cut it from a peach board paper and used brown promarker pen for the stripes on the body. I made the wings from a parchment paper, decorated with glitter glue and attached with PVA glue. For the antennae, I folded a V design thin brown wire and curled the sides. I attached it on the back of the bee with tape. That small googly eyes made him cute, don't you think?

Small Bear Gift-CDACPC 7 Entry 1


I bought this Sizzix Bigz Die Cups Candy a year ago and I think this makes a perfect bag for a small bear gift from Pimboli. The die template includes 2 designs for the sides and a bottom for five and six sides. I used the five bottom for my box which makes a smaller cup. Decorated each side with red board paper and red gingham paper before gluing them all together. After coloring and cutting an image "Apple" from Heart Song Designs , I attached them on each sides with foam tapes. This image is a freebie and my first entry to the Crafter's Digital Arts Center Progressive Challenge Round 7:
Here's a view of the different sides. For the handle, I cut a thin strip of red board paper and red gingham paper and attached with double-sided tape on the inside of the cup.

The Birthday sentiment is from Sending Treasures and is also a freebie for the Progressive Challenge: 


Thursday, November 17, 2011

The Outlawz Progressive Challenge-Entry 2

Here's just a quick post on my second entry to  Progressive Challenge over at The Outlawz. This time, I used Sandi's flower ornament. Printed different sizes of the ornament and decorated with glitters. The sentiment is from TlcCreations.

Wednesday, November 16, 2011

The Outlawz Progressive Challenge-Entry 1

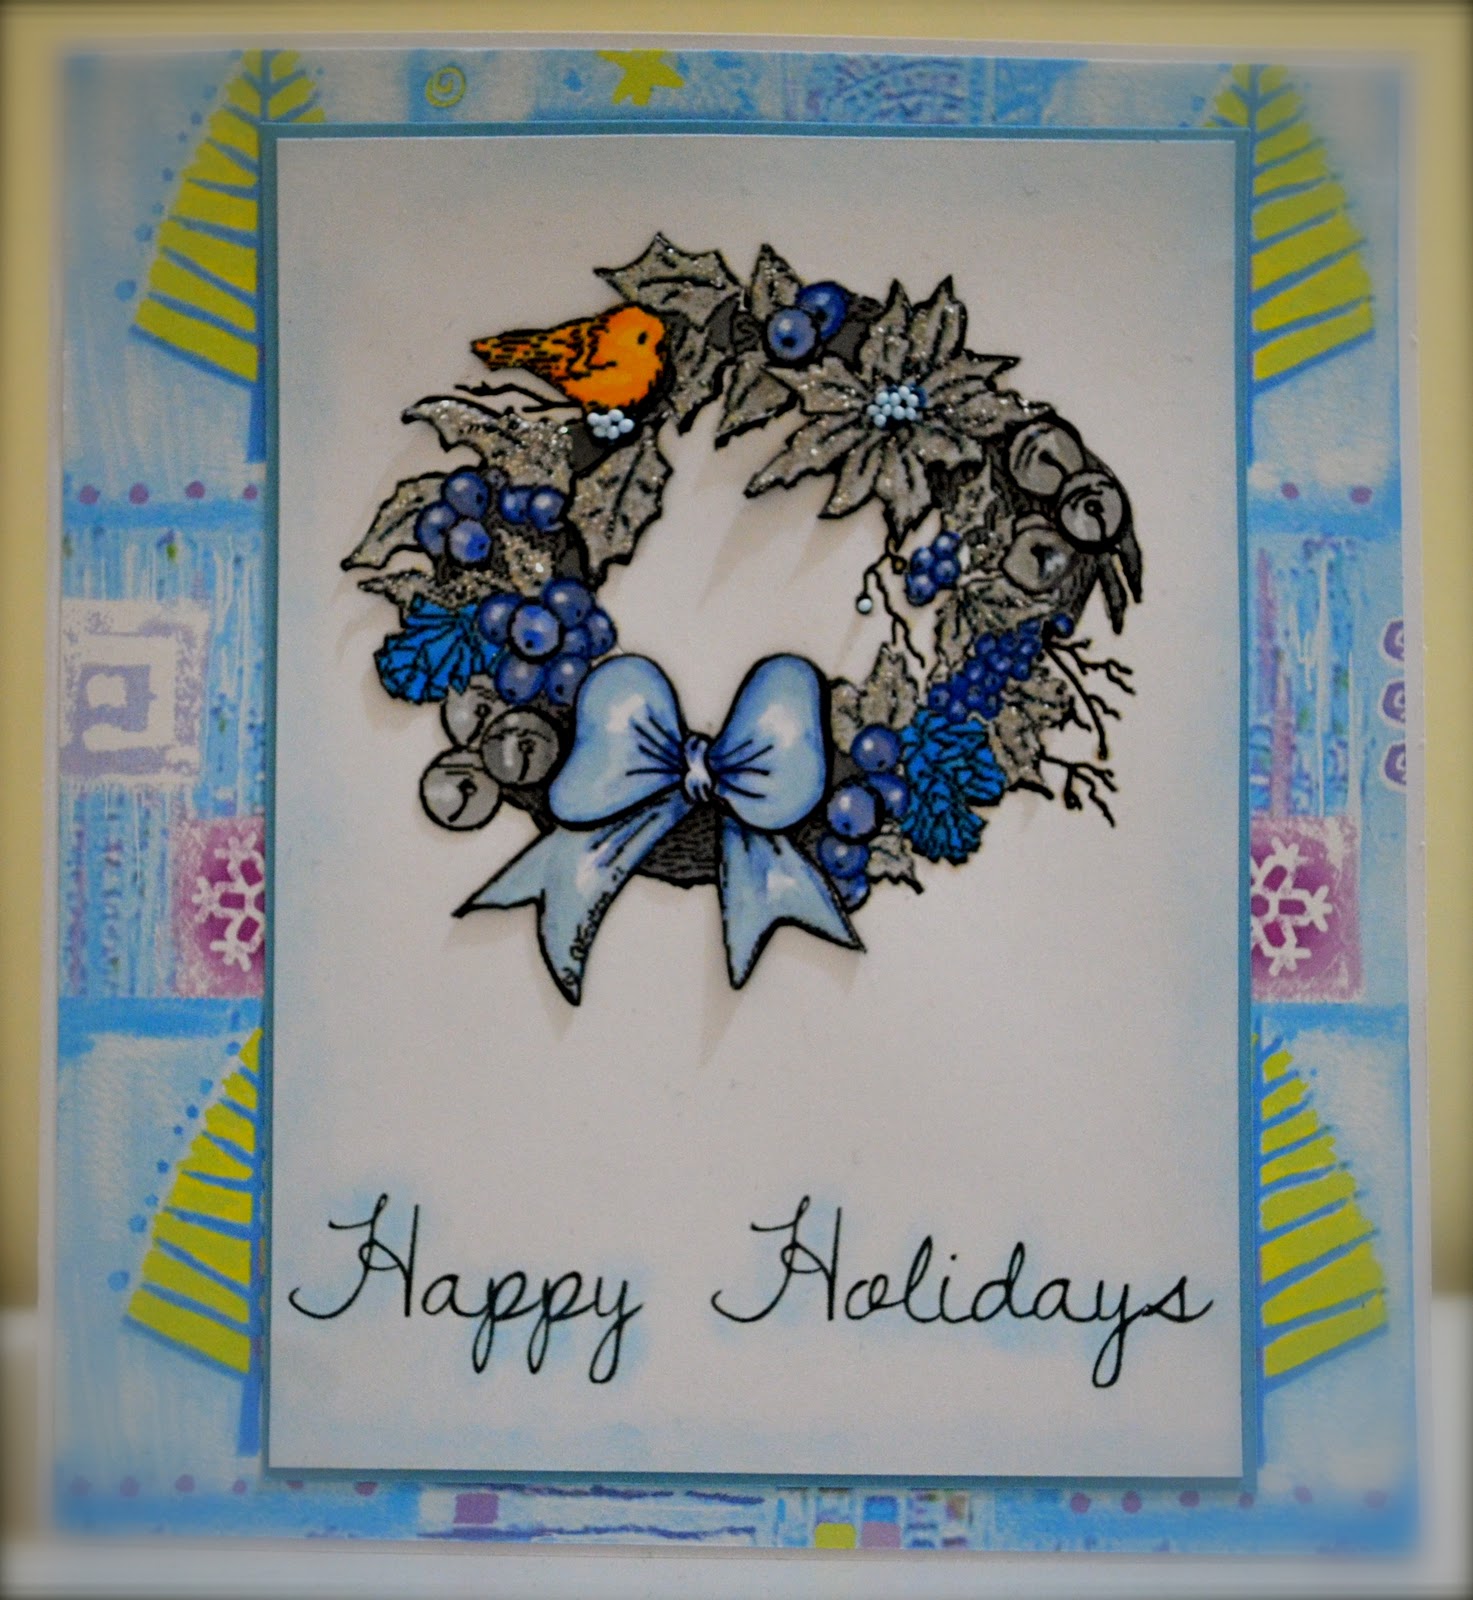
Over at The Outlawz, Anne Fenton and Sandi Huggett generously gave away 4 lovely Christmas images to start off the Progressive Challenge. For my first card, I used Anne's Christmas wreath. I made a simple card using blue as my main color scheme. It's the same color I'm using for my house this Christmas so that's what inspired me to incorporate it in my card. Added some small blue balls and glitter glue on the poinsettias for a more festive look. I gave the bird a different hue just to let it stand out. I tried using blue but not very interesting to look at. I hope you like it.

Monday, November 14, 2011

CDAC Progressive Challenge #6-Entry 2

My second entry to the Freebie Progressive Challenge at CDAC is a very cute elephant image called "Shop till she drops Ellie" from Inked Treasures.
I made an easel design card using Martha Stewart's Cherish Punch Around the Page. Punched also some snowflakes, put some glitter and attached with dot foam tapes. Here's my card:


You may also like:

Related Posts Plugin for WordPress, Blogger...